1. 使用expo创建项目及项目初始化
创建时间:2024-12-29 18:33
长度:1719
浏览:0
评论:0
expo 创建项目
npx create-expo-app@latest hengzhou-app
- cd hengzhou-app
- npm run android
- npm run ios
- npm run web
先初始化一下git仓库
git init
git add .
git commit -m "first commit"
git branch -M main
git remote add origin https://github.com/1089109/test.git
git push -u origin main
启动命令
npm run start # 启动命令,需要二次确认启动哪个平吧
npm run ios # 只启动ios
npm run android # 只启动android平台
执行命令删除示例文件
注意:如果你需要参考,则不需要该步骤;需要一个干净的目录则执行该命令
npm run reset-project基础知识记录
1. 程序的入口文件
/app/index.js(jsx|tsx) 作为程序入口
2.添加样式两种方式
一个是使用react-native的StyleSheet.create,另一个是使用行内的style来创建,示例代码
import React from "react";
import { StyleSheet, Text, View } from "react-native";

export default function Index() {
  return (
    <View style={styles.container}>
      <Text style={{ backgroundColor: '#fff', padding: 10 }}>Edit app/index.tsx to edit this screen.111</Text>
    </View>
  );
}

const styles = StyleSheet.create({
  container: {
    backgroundColor: '#f9f9f9',
    justifyContent: 'center',
    flexDirection: 'column',
    alignItems: 'center',
    flex: 1,
  }
})
注意:如果还没有apple开发账号,建议先不跟着下面做,要不然没法在ios上测试,我现在已经回炉重建项目了
在云端配置开发构建
根据expo官网来配置就可以了,链接
1. 安装 expo-dev-client 库
npx expo install expo-dev-client2. 安装 expo EAS CLI
npm install -g eas-cli3. 登录Expo 账户
eas login4. 初始化并将项目链接到 EAS
eas init5. 为 EAS Build 配置项目
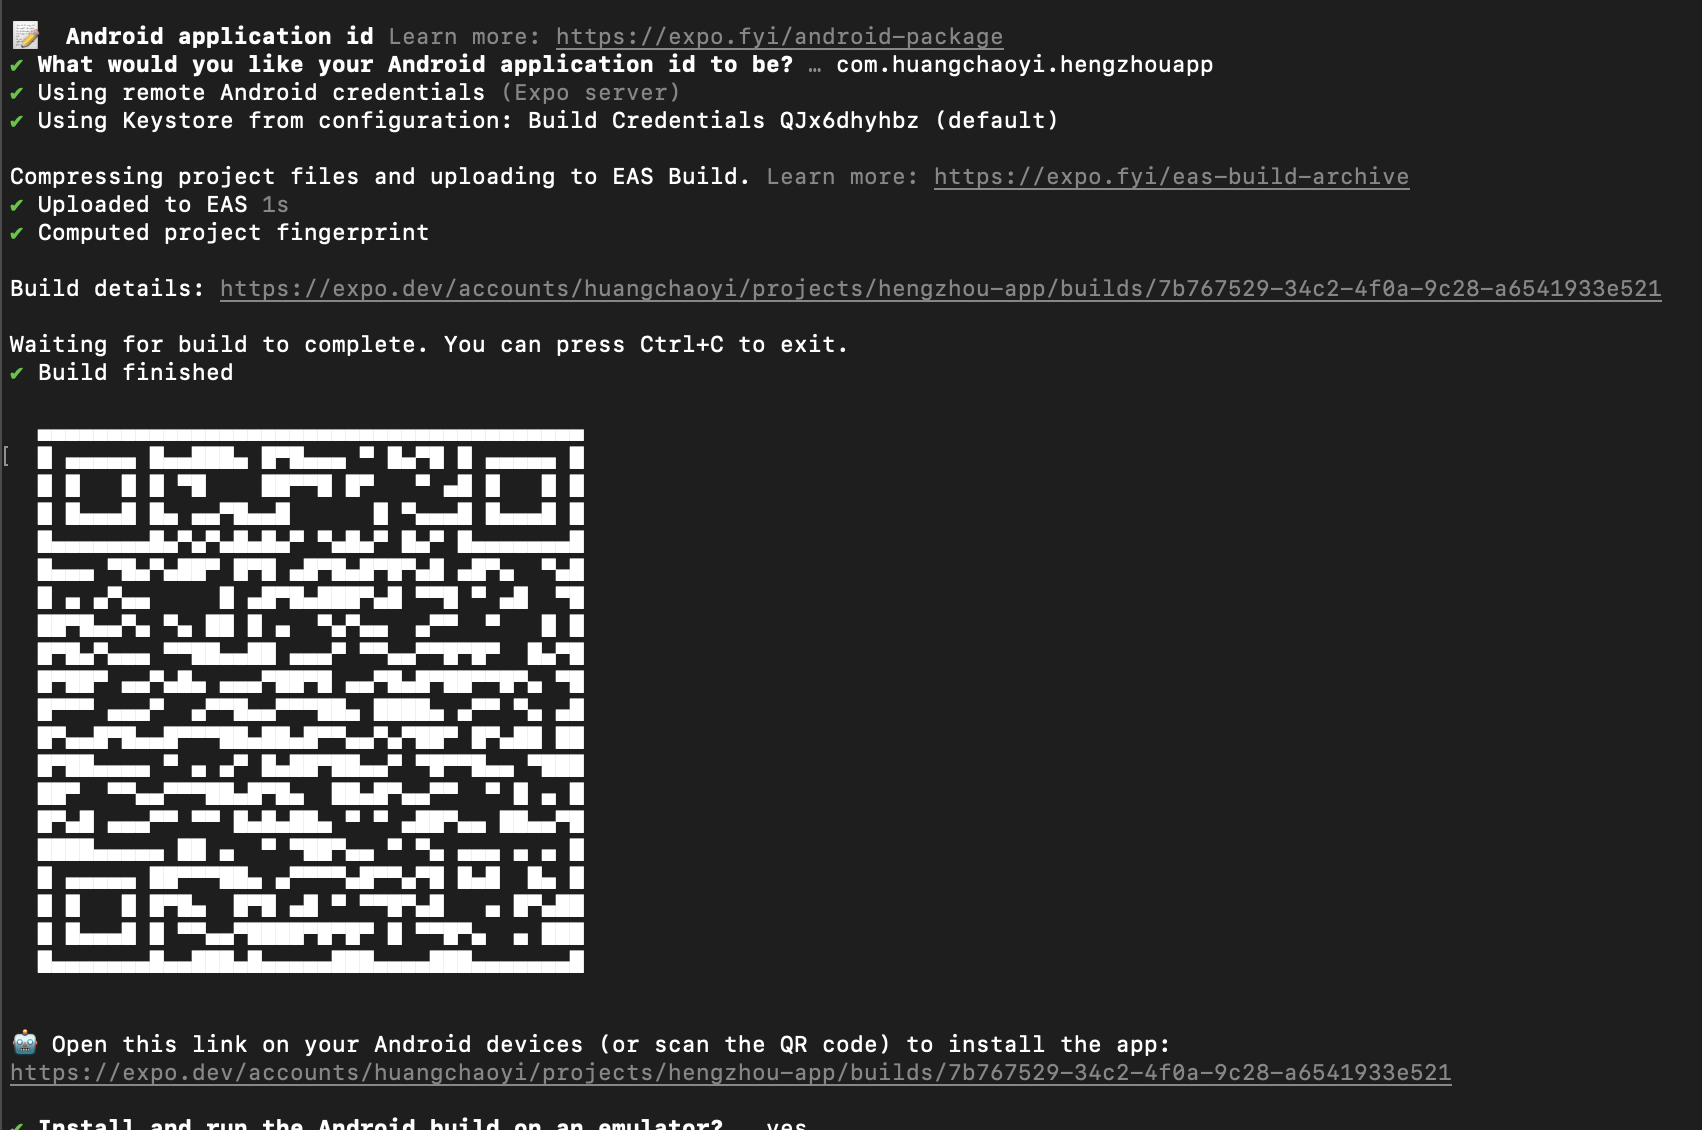
eas build:configure6. 为 Android 创建并运行云构建
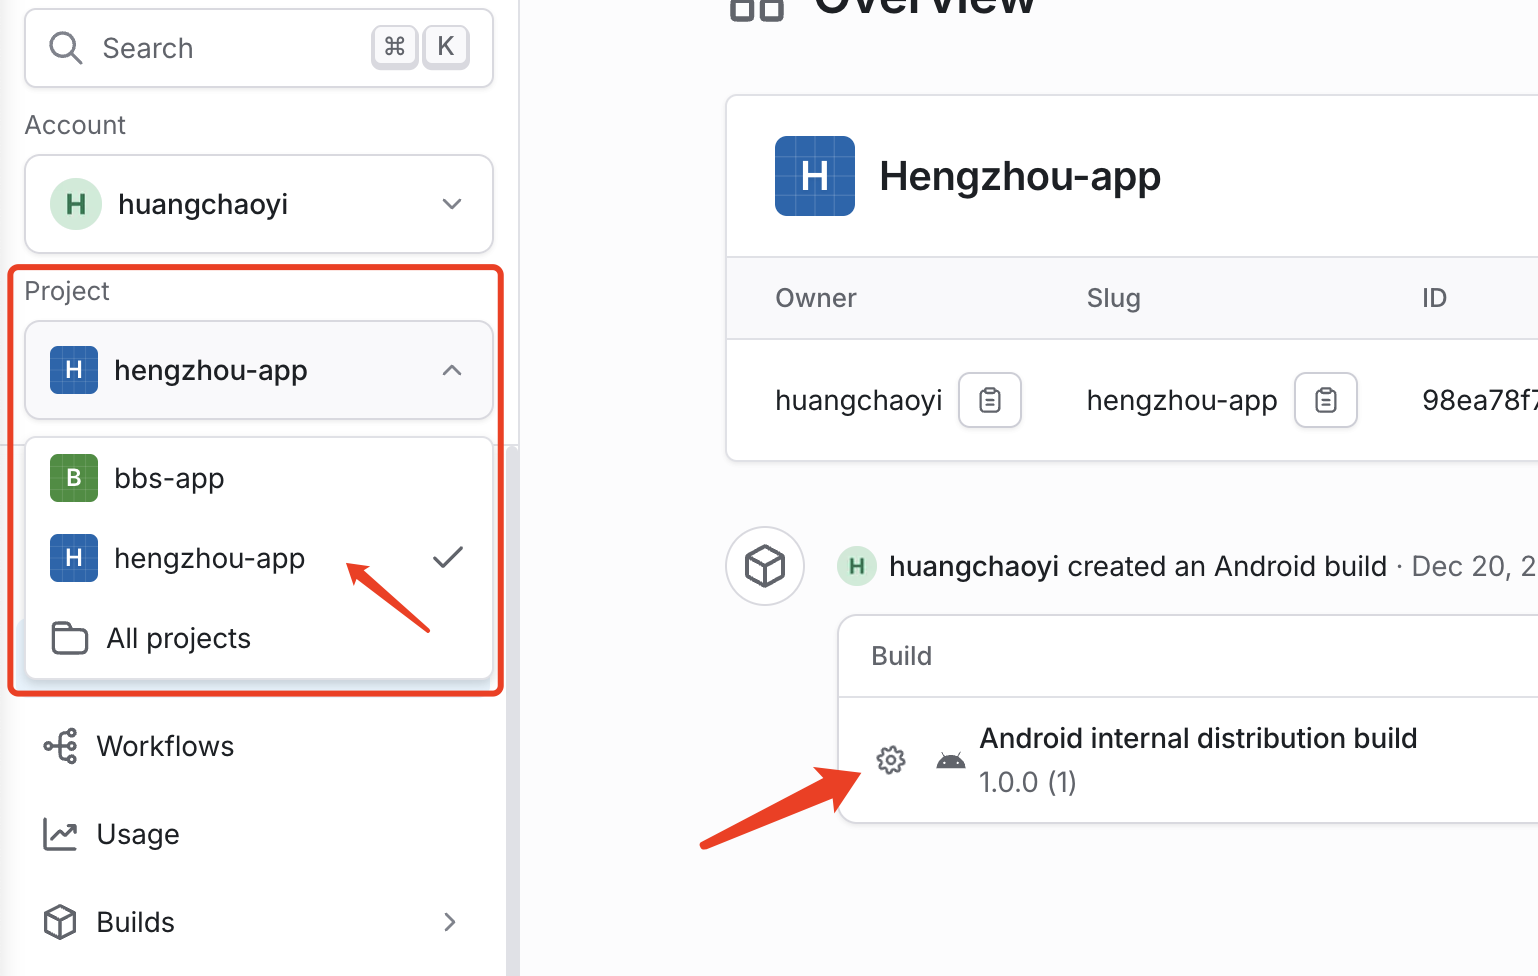
eas build --platform android --profile development根据提示,操作完,在expo后台就可以看到一个构建项目了
6.1 iOS 模拟器的开发版本
在根目录的ejs.json添加下面这几行代码,然后执行打包命令
{
  ....
  "build": {
    ....
    "ios-simulator": {
      "extends": "development",
      "ios": {
        "simulator": true
      }
    }
  },
  "submit": {
    "production": {}
  }
}
build
eas build --platform ios --profile ios-simulator7.构建完成并在手机下载APP
在终端完成第6步后,expo会给到一个网址,用这个网址在手机打开,然后下载apk就可以安装测试了